This step by step guide will illustrate how to create an Ethereum dApp. Specifically, it will be a simulation of a simple e-commerce platform selling artworks, using the Ethereum blockchain, which will allow the simulation of the purchase of goods using Ether [ETH].
This e-commerce will have the ability to certify and show the purchase of such works on the part of the buyer by recording the purchase operation on the Ethereum blockchain through a smart contract.
It is possible to find and download all the code present in this guide on this Gitlab profile to consult it and adapt it to different possible needs.
The guide will be divided into two parts to facilitate understanding and to divide the back-end part (covered in this guide) from the front-end part that will be covered in the second part of the guide.
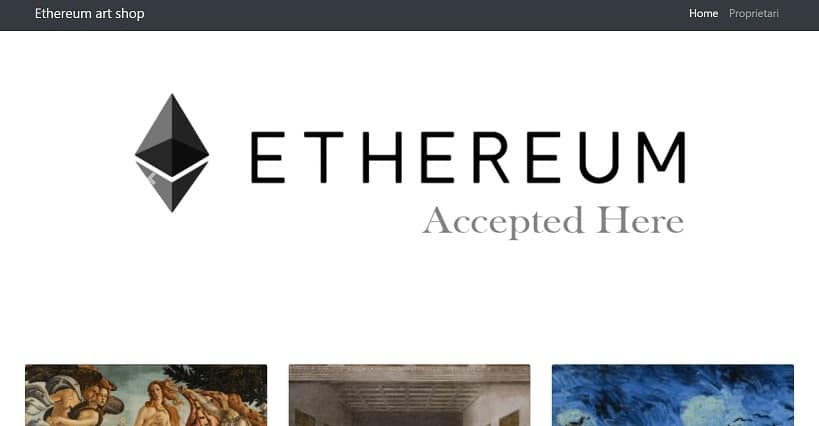
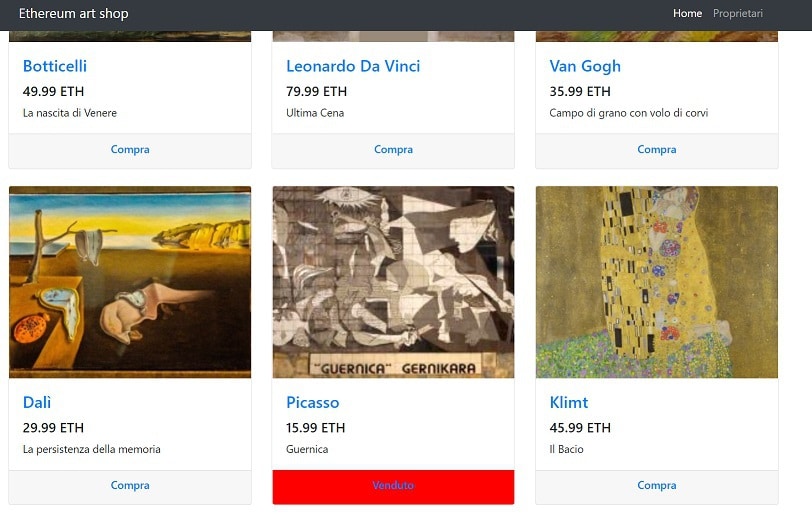
The final aspect of the project will be something like this:


Guide: creating an Ethereum dApp
Basic steps and requirements
- Download and install the necessary programs;
- Create a Truffle project;
- Write the smart contract;
- Compile and migrate the smart contract to the blockchain;
- Test the correct functioning of the smart contract;
- Create the front-end part to interact with the smart contract.
The first five points will be explained step by step in this guide, while the last point will be explored in the second part of the guide.
The architectural design of the dApp
Technologies required and worth knowing
- Node.js
- Npm
- Truffle
- Ganache
- A text editor (Notepad ++, Sublime text…etc)
- Web3.js
Required software
The first step is to download the latest available stable version of Node.js (LST) and install it. Npm, the handy additional package manager for Node, will already be included in the installation, allowing to easily download the Truffle and Ganache framework. They will be necessary to easily create a private Ethereum blockchain on the computer.
On Windows, in order to install truffle, it is sufficient to type in the PowerShell of Windows: npm install -g truffle.
For Ganache, instead, just type: npm install -g ganache.
Create a folder on the desktop and name it “DAPP“.
Open the PowerShell from inside the folder, press SHIFT + right mouse button and press “Open PowerShell window here“.
Type: Truffle init.
A short process will begin in which the framework will download some files and properly organise the project folders. Three new folders called “contracts”, “migrations” and “test” and a javascript file called “truffle-config” will be created within the main DAPP folder.
The contracts folder contains the files in Solidity (.SOL) format that will be necessary for the development of smart contracts.
The Migration.sol file is located in the migration folder. This is a “special” smart contract that allows Truffle to deploy other smart contracts and keep track of all changes.
At first, the Test folder does not contain any files and is designed to contain javascript and Solidity files for testing smart contracts.
Finally, there will be the file Truffle-config.js that will be necessary as a configuration file.
The Ethereum smart contract
Through a text editor, it is possible to start writing the code. On Sublime Text it might be useful, but not essential, to set up the programming language being used in the editor.
The most common programming language for writing smart contracts is Solidity.
The words “Plain-text” appear at the bottom right of the text editor. Clicking on them will open a long list of selectable languages that give the possibility to have a different and intuitive syntax colouring depending on the language used. Solidity is not present at first, but it will be easy to add it by following this mini-guide.
Solidity is a language that requires the explanation of the type of variable to be defined, unlike Javascript (from which it takes a lot of inspiration).
A smart contract must start with the words Contract, followed by the name to be assigned to it.
Inside, in curly brackets, it is necessary to write what the contract is going to do.
The image above shows the smart contract certifying the purchase of artworks.
An array of Ethereum addresses is defined, which is public in order to allow access from the outside.
The main function is the purchase one. It is defined as public and accepts inputs and returns an integer without sign.
It uses the keyword ‘require‘ which allows the validation of the condition inside it and, if the condition is not met, it interrupts the execution of the smart contract.
There are two conditions that must be met, namely the one in which the function is given an ID between 0 and 5 (since it was decided that the artworks for sale are six) and the one in which the corresponding position of the array of addresses is still not assigned, which means that it contains an empty address (abbreviated to 0x0).
The key code portion of the function is the one on line 12. Msg.sender simply returns the Ethereum address of the user who initiated the ethereum smart contract.
The second function is getBuyers. As the name suggests, it simply returns the entire list of buyer addresses. It is worth noting the keyword ‘view‘ in the definition of the function that allows specifying that the function will not change the state of the smart contract.
Compiling the smart contract
Now, in the Windows PowerShell, it is necessary to type: Truffle compile.
Truffle will compile all the files in the Contract folder. In this specific case, there will be two. The first will be there by default and the second will be the smart contract previously written.
At the end of this procedure, inside the main project folder, there will be an additional ‘build’ folder, the contents of which are not covered in this guide.
The test phase
Truffle provides the possibility to test Ethereum smart contracts. When opening the test folder, a new solidity file is created called testPurchasing. To create a new file just click on File -> new File and after writing the code inside it, save it in the necessary format.
This is where it is possible to write all the features to be tested.
It is first necessary to import the Truffle Assert and DeployedAddresses files and the smart contract previously created.
In this case, three functions are defined using all the ‘Assert‘ keyword. The latter is necessary to verify the equality, inequality or verification of the null content of the values that are passed as parameters. In addition, it is possible to customise the relative message returned by the specific test.
The functions present in the above image are used to test respectively the functioning of the purchase mode and the correct return of the information that is called up by the blockchain.
In the PowerShell simply type ‘truffle test’ and after a few seconds, a message will be returned indicating the success or failure of all the defined test functions. These testing phases are also written in the local Ethereum blockchain and it is possible to see all the transactions on Ganache.
Deployment on the Ethereum network
Before proceeding, it is necessary to decide whether to work with the main Ethereum network, with the Ropsten testnet or with a local network contained in the PC.
When using the main Ethereum network it is important to keep in mind that for every operation, there will be a small fee (in Gas).
Before running on the mainchain, it is a good idea to make sure to have developed and tested the smart contract in the best possible way. To do this it is absolutely recommended to start developing on the Ethereum testnets such as for example the Ropsten or Kovan networks.
However, the most convenient and fastest method is to have a private Ethereum network within the PC.
This guide has opted to work with a private blockchain and this is where Ganache, part of the Truffle suite, comes in handy.
Ganache creates a local Ethereum network and allows to conveniently view all transactions through a user-friendly interface. It provides by default 10 Ethereum addresses containing 100 ether each (obviously fake).
It is important to check whether the address on which ganache is executed and the one defined in the truffle-config.js file match, otherwise it will not be possible to migrate smart contracts.
In both Ganache and the configuration file, it is possible to edit the port number at will.
The migration phase
Here, too, Truffle comes to the rescue. Using the PowerShell, within the project folder, type ‘Truffle migrate’.
The shell will display all the data related to the uploading of the two contracts to the local network and it is possible to find the same transactions in the “transactions” section of Ganache.
At this point, the backend part of the DAPP ends. Now, it is possible to start interacting with the local Ethereum network through the front end part, which will be analysed and discussed in the second part of this guide.


