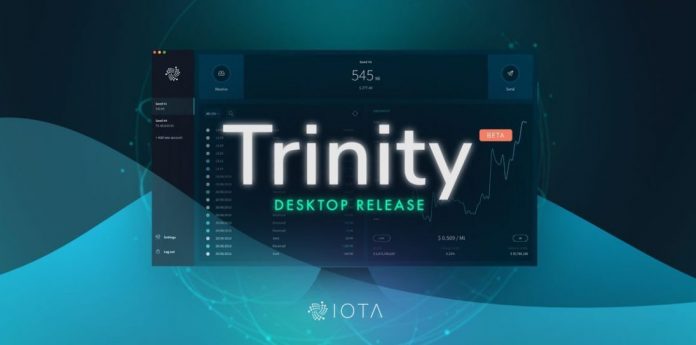
Trinity is the name of the official IOTA wallet and, as far as the desktop version is concerned, the wallet is no longer in beta and certainly has all the features that can be found in a top-level wallet.
Trinity Wallet Desktop IOTA
After downloading the software from the official website, IOTA welcomes the user and thanks them for downloading Trinity.
After that, the user has to choose their own language and decide whether to use an already known seed or to generate a new one. In this case, the second choice was chosen.
Trinity suggests pressing random letters so that the seed generation is as random as possible. Subsequently, the name dedicated to the new wallet should be chosen.
As for the backup of the seed. IOTA’s Trinity desktop allows three different methods:
- Writing it down;
- Exporting with SeedVault;
- Paper printing.
Here, SeedVault was the choice considered. Once the password has been set, the file will be saved to the computer at the desired location.
After choosing a password, the wallet is ready and the configuration is complete.
The functions of the Trinity wallet
Once configured, the IOTA Trinity Desktop wallet displays an initial dashboard, with a minimalist and elegant design.
At the top, there is a section related to the current balance and the Receive and Send functions.
Just below there is a chart showing the trend of IOTA in real time and all transactions that were made on this wallet.
As usual, to perform any operation and to see what functions this software offers, it is necessary to have an address in order to receive IOTA.
The address will be shown by clicking on the Receive button at the top left of the screen.
Once this is done, it will take a few moments to see the balance updated.
To be able to send IOTA to another address, press the Send button at the top right, choose an address and an amount and wait for a few seconds so that the tokens are actually transferred.
At this point, the transaction history is automatically updated.
At the bottom left, in the settings section, it is possible to access various functions:
- language;
- node: it is possible to choose several predefined nodes, or to set a custom one;
- theme;
- currency: for showing IOTA against the dollar or other FIAT currencies;
- change password;
- two-factor authentication (2FA);
- mode: it is possible to choose an advanced mode that can show more detailed technical information;
- advanced settings: some interesting choices including the PoW delegation, enabling notifications and resetting the wallet;
By clicking on any transaction in the history, the IOTA Trinity Desktop wallet displays additional information such as the hash of the package, the address of the sender and receiver and the message sent. It is also possible to add a new wallet and then manage more than one with the same software and make some changes to the graph to view the trend of IOTA in hours, weeks and months.
Here is a video presentation of the IOTA Trinity Wallet:


