


EOS Lynx was the first wallet for mobile devices and it was announced in July 2018. This is a wallet available for both Android and iOS smartphones. It can be easily downloaded from the Play Store for Android devices or from the Apple Store for iOS.
EOS Lynx is a mobile wallet that focuses on ease of use. The user interface, in fact, aims to make it easy and intuitive to use the features of the wallet and thus the EOS platform for creating accounts and transferring coins.
Lynx allows transferring and receiving EOS, importing existing accounts or creating a new one instantly from the app, also using Google/Apple Pay account to pay for the necessary RAM. It also allows interacting with some of the EOS dApps, voting for Block Producers, and managing account resources and RAM.
In short, it is a complete solution which can be added to the current GreyMass, Scatter and SimplEOS available for desktop. And of course, there is also support for tokens and airdrops.
EOS Lynx Guide: Easy-to-use EOS wallet for Android and iOS
First step: download and installation of the wallet
First, here is how to download and install EOS Lynx. An Android smartphone will be used in the example below, but the procedure is the same for iOS. Simply download the app from the Play Store for Android devices or from the Apple Store for iOS ones.
At this point, if a new account needs to be created, simply click on Create New Account. The reading of the constitution of EOS will be proposed and it will be necessary to agree to it in order to proceed by clicking on Accept.
The account will now be created. To create an EOS account you need a certain amount of RAM, which can be purchased using the EOS token. In the past, creating an account was likely to cost dozens of euros, due to RAM speculators. Fortunately, a few euros, if not cents, is all that is needed today.
At this point, simply choose the name of the EOS account, which must have a well-defined length of 12 characters, including the numbers from 1 to 5. Once the availability has been checked, it is necessary to click on Buy. The amount required for the creation will be shown.
At this point, the payment method will appear, in this example Google Pay, which will use the balance on the account for the operation. Once the payment has been processed, access to the EOS account will be finalised.
Next, the private key will be shown, which will have to be written somewhere safe. At the end of the transcription, simply click on Copy.
At this point, the final verification will be carried out by reinserting the private key. Then click on Confirm.
You will then be redirected to the dashboard of the EOS account. Here it is possible to view the balance, both of EOS and of the tokens. In addition, a new Account can be added or created by clicking on the + icon at the bottom right.
Second step: send and receive transactions
Once an account has been created or linked, in order to send EOS, it is sufficient to use the account name as the address for the recipient wallet/exchange. A few seconds after sending, the tokens will arrive on the EOS Lynx wallet.
Obviously, there is the possibility to see the TX hash and the sender by clicking on the transaction details. At this point, here’s how to make a transaction.
First, click on the coin you want to send (EOS or Token). The Send option will then appear. Just click on it and enter the recipient’s address or EOS account name, as well as an optional MEMO.
At this point, by clicking on Next and then on Confirm, you will be asked to confirm the transaction using the security fingerprint or PIN, the same one used by the default Android smartphone. FaceID can also be used on iPhone X.
Third step: Resource management & dApps
EOS Lynx also allows managing account resources, such as RAM, CPU and bandwidth. It is possible to use the EOS tokens to purchase more RAM to add to the Account. It is also possible to manage the staking of EOS tokens for the CPU or network.
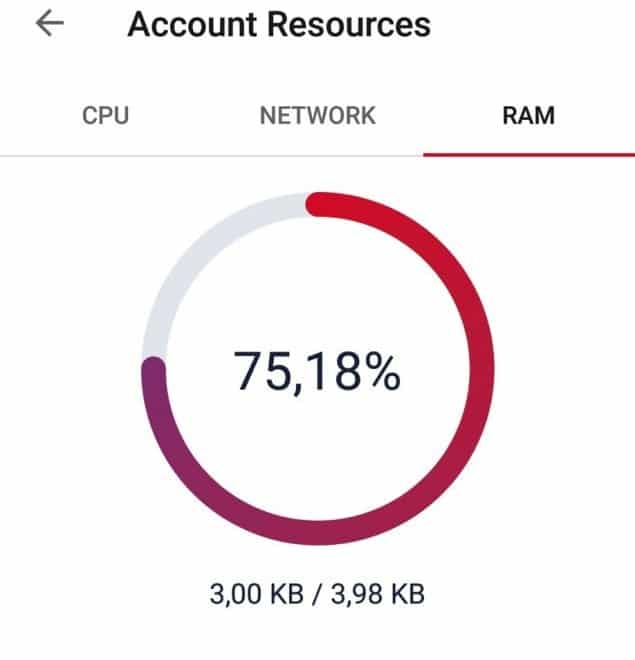
All these options are visible in the Resources label, indicated by a histogram icon. Finally, there is also a section dedicated to EOS dApps.
